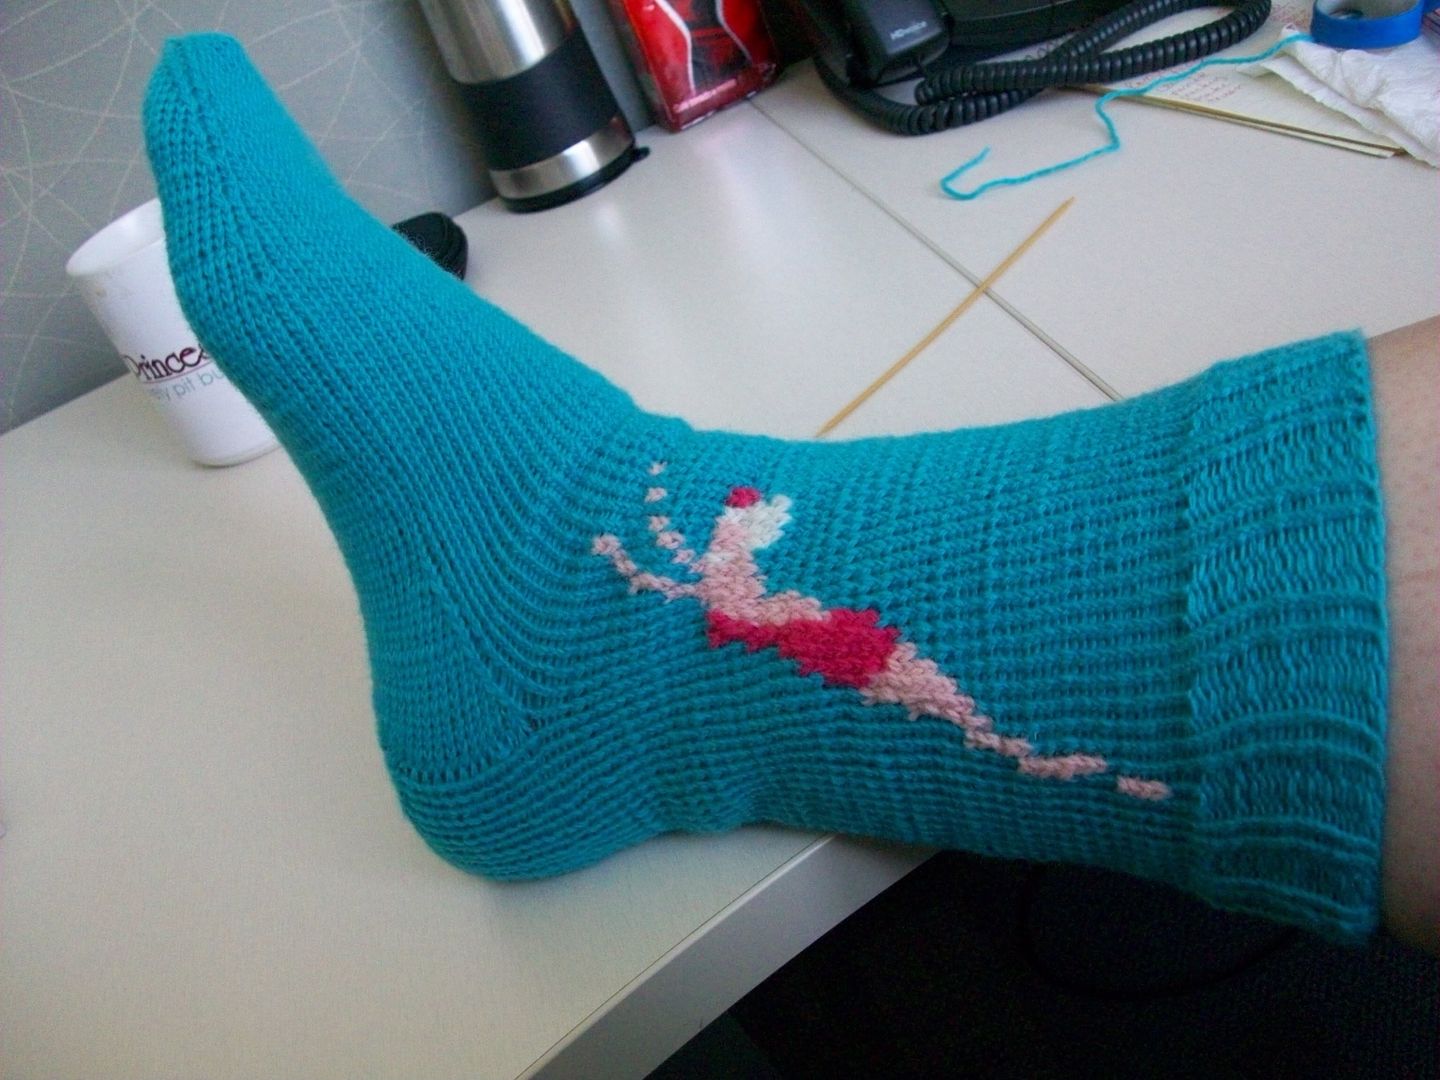
So, I had to put the Red Devil #7257 Socks down, I just couldn't face Sock #2 with all those bobbins and color changes! I needed something simple and fast!! I chose the Diving Girl Sock to knit and used Knit Picks Palette Yarns in Caribbean for the body of the sock, Blush for the Diving Girl, Rouge for her Swimsuit and White for her Bathing Cap. (I'm just guessing this is a bathing cap, maybe she is a Platinum Blonde and the Rouge is her bathing cap, or a bow!! LOL) This yarn is fingering weight and 100% Peruvian Wool. I used Size 1 Boye metal Single Point needles for the leg portion.
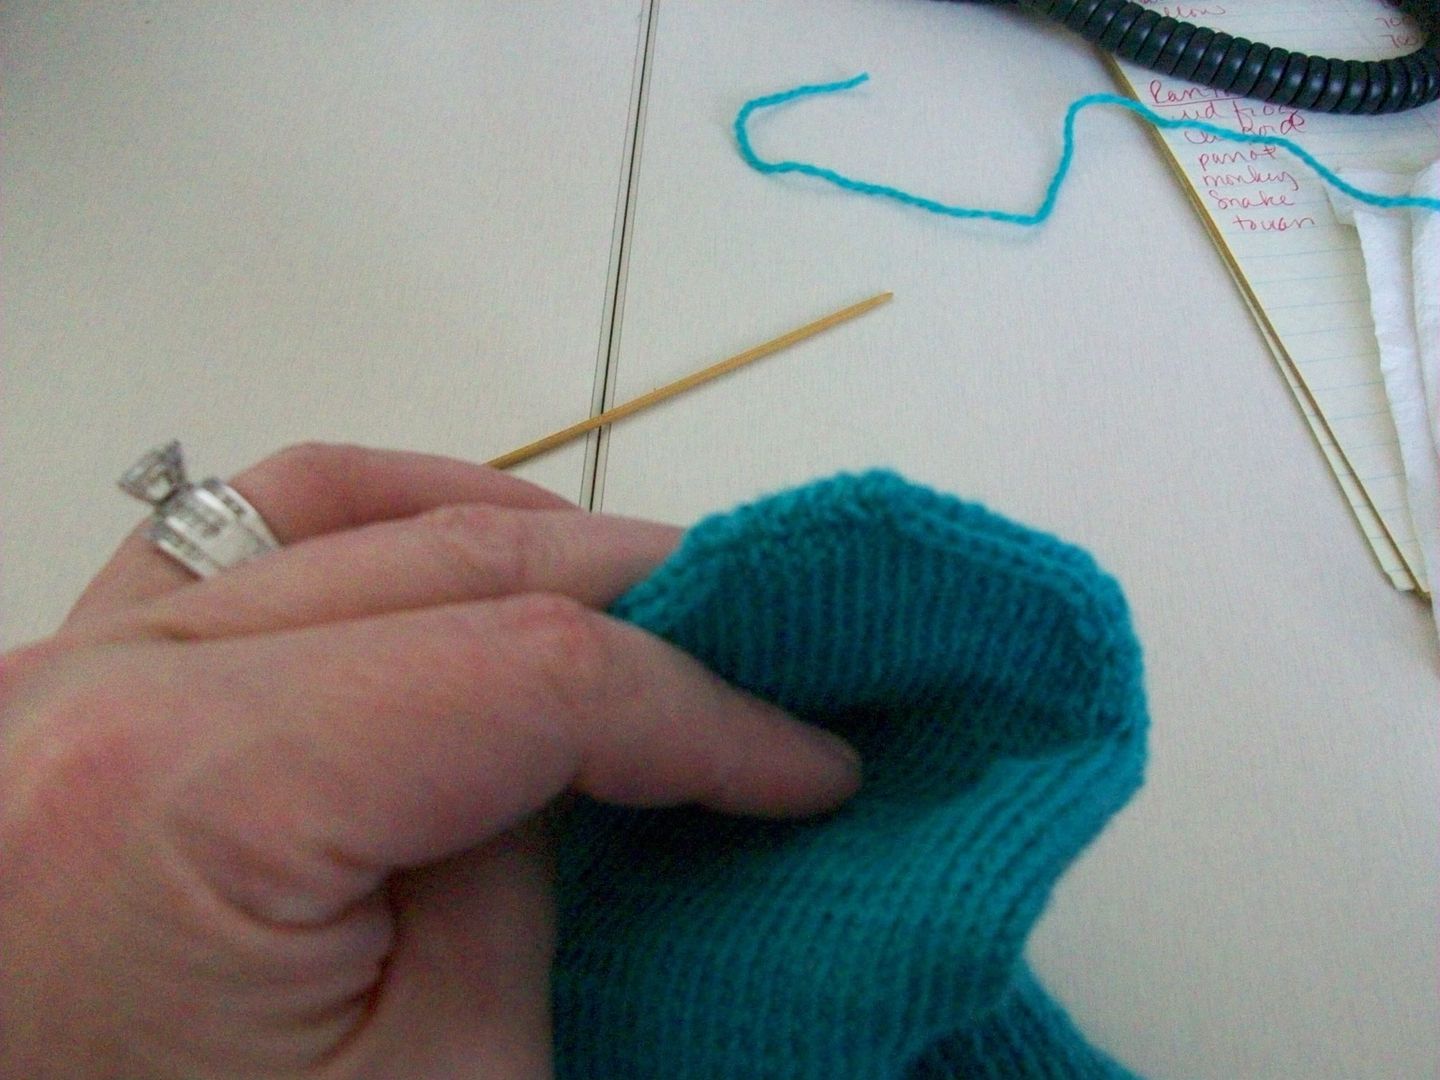
This is the leg portion almost complete. I had just started the Bathing Cap section in White here.
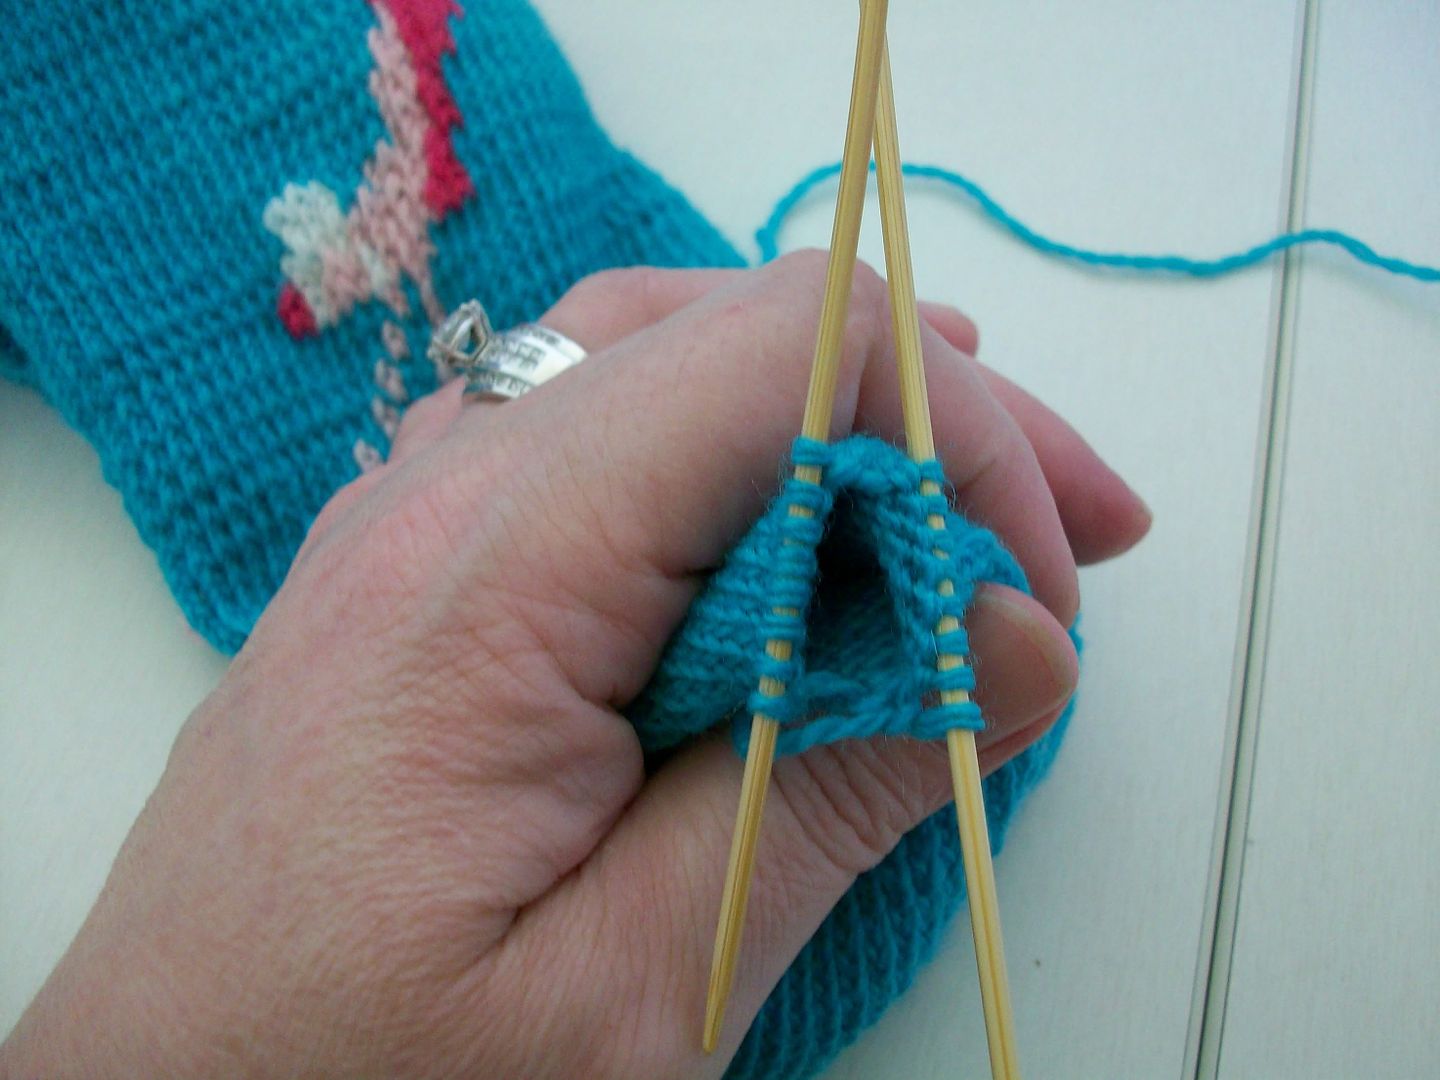
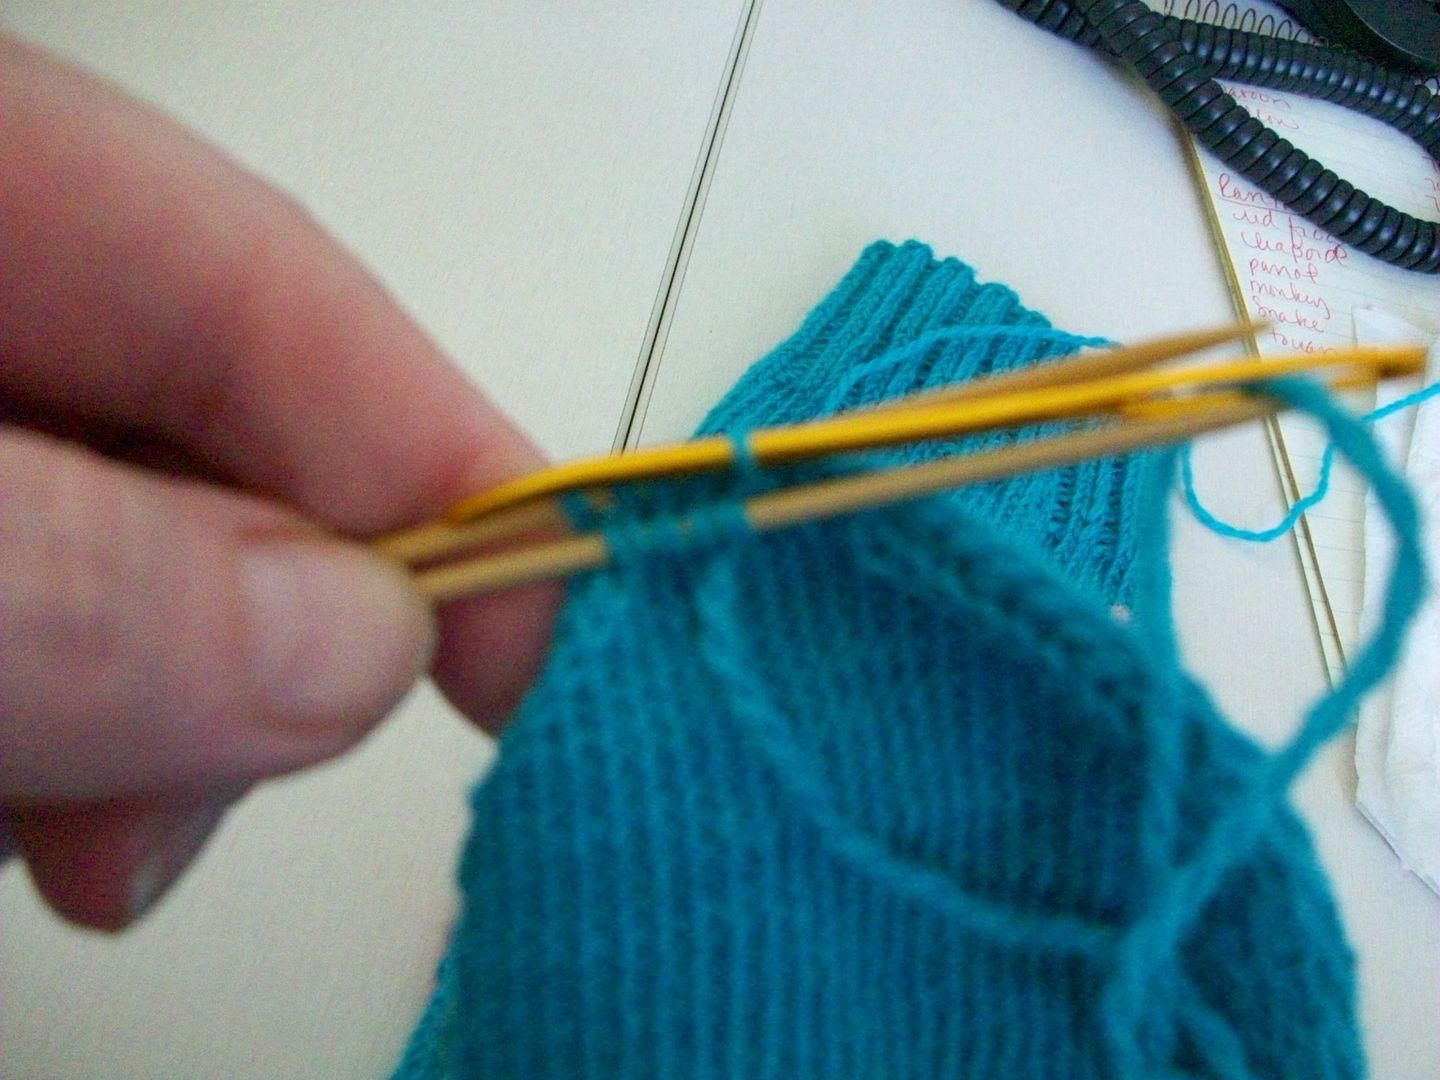
With the actual antique pattern beneath the work, the upper leg portion is compete. Now to take 18 stitches off each end. Placing these stitches on one needle folds the piece into the Sock form. The only thing, your working yarn is now trapped in the center! What to do, what to do...
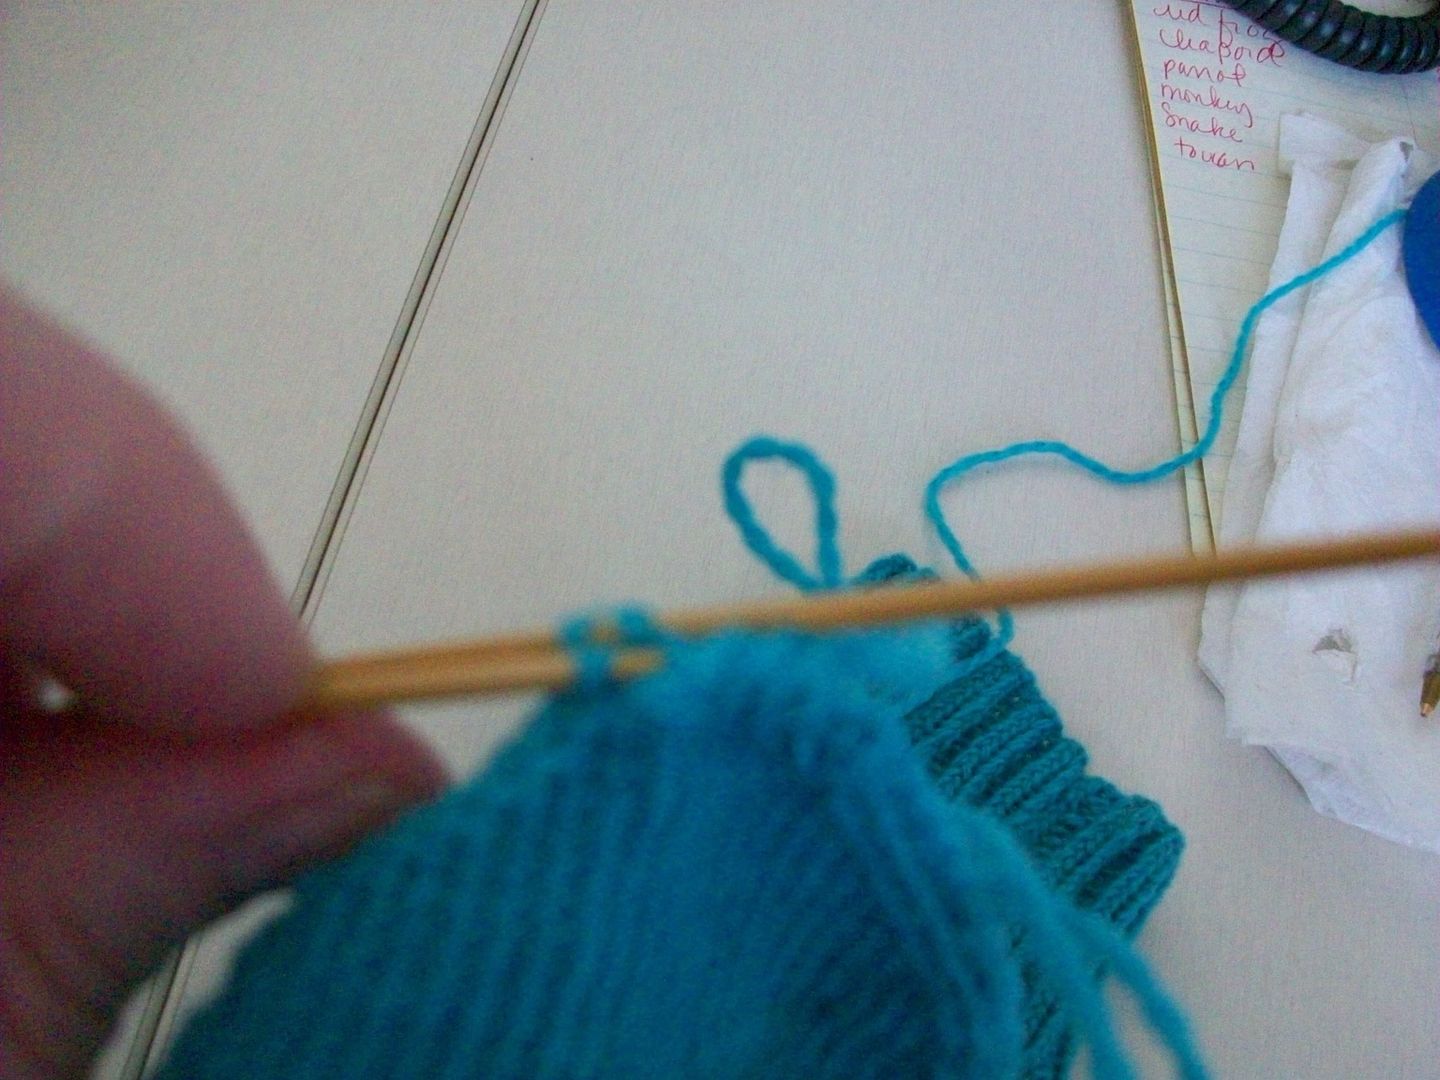
You cut a long length of yarn and start stitching up the back using the mattress stitch. Little plug here: See the cute little Dragon ends on my needles? These are the Needle Holders that I am making and trying to sell here and on Ebay. The Dragons are from my Magical Kingdom set which also has the White Knight, Wizard, Unicorn, Princess, and Frog Prince Needle Holders. I wanted to show them in use because I really do use these holders on every project.
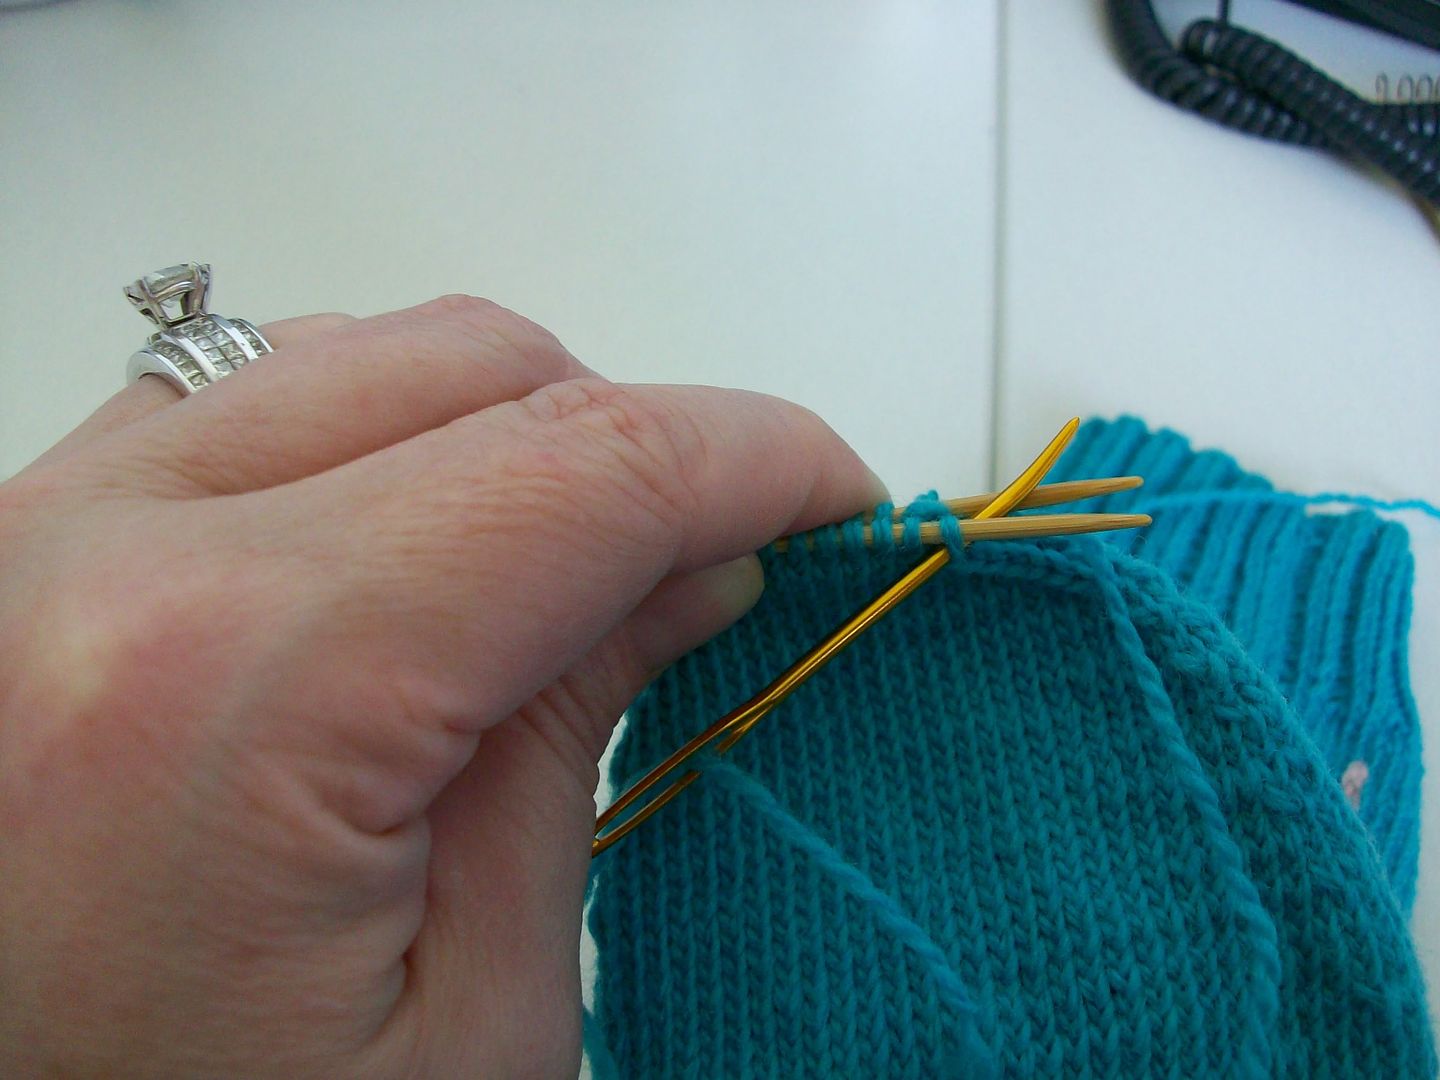
Further up the seam, see you can't see one! Good old Mattress Stitch!
Now, the back of the sock is all seamed up and I am ready to begin the heel! Dragons still hard at work keeping the instep stitches safe. Onto the heel, 2 inches of Row 1: Sl 1, K1; Row 2: Purl back to form the reinforced type heel. Be back at the end of my heel flap. June 15, 2011 @ 12:11pm CST
Here is the completed reinforced heel flap. The pattern or texture on the flap is created by Sl1, K1 for the first row and Purl back for the second row. You repeat these 2 rows for 2 inches or with my tension/gauge, 25 rows. I did go ahead and shape the heel (the little cup where the heel rests) and pick up the stitches along the side of the flap which is the beginning of the gusset. Now we work one Row decrease (you knit 2TOG on the last 2 of Needle 1 and SSK on the first 2 of Needle 3. A little confusing I'll admit. Row 2 is knit around. You repeat these 2 rows until you have 18 stitches on Needles 1 and 3 and 36 stitches on Needle 2. Then you knit around until the foot is 2" shorter than you want your sock and start the Toe decreases. This is done by doing a decrease at the end of Needle 1, beginning and end of Needle 2 and beginning of Needle 3.
Take your darning needle and insert it into the first stitch on the front needle as if to knit. Slip stitch off knitting needle. Now go into the second stitch on the front needle as if to purl. Leave this stitch on. Put the needle into the first stitch on the back knitting needle as if to purl and slip this stitch off. Go into the second stitch on the back needle as if to knit and leave on. Front needle, second stitch as if to knit, slip off. Next stitch, as if to purl, leave on. Back needle as if to purl, slip off. Next stitch as if to knit leave one. Repeat this process until there are no more stitches on your needles! You have just grafted a toe! YAY! Weave in your ends and put those babies on your feet!!!
Here with the darning needle going in as to KNIT.
Slipping a stitch off.
Completed toe after grafting.
YAY!!


